
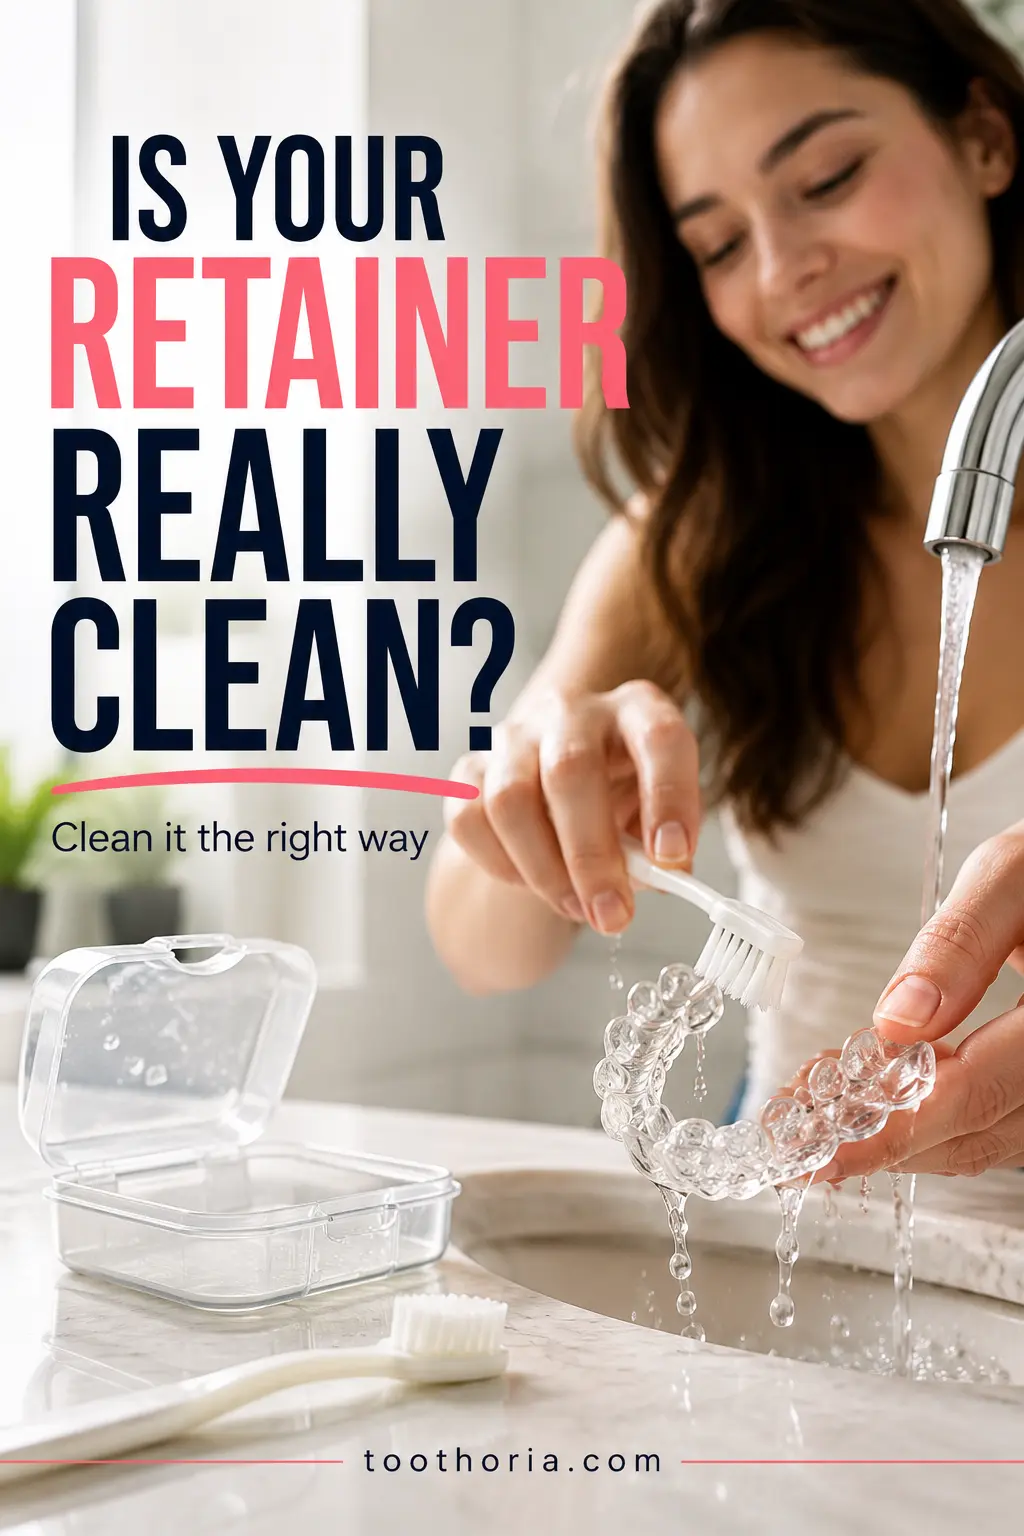
The first time my orthodontist handed me my retainer, she said one line I didn’t take seriously enough: “clean it like you clean your teeth.” Six months later, I pulled my retainer out of its case and it smelled like something had died in it. That was the moment I actually learned how to clean orthodontic retainers properly, and it changed how long my retainer lasted and how comfortable it felt to wear every single day.
If you’ve ever noticed a cloudy film, a sour smell, or white spots creeping across your retainer, you’re not alone, and you’re not doing anything unusually wrong. Most people just aren’t shown the right routine. This guide is everything I wish someone had told me on day one, written the way I’d explain it to a friend who just got their retainer and doesn’t want to ruin it in the first month.
Why I Stopped Ignoring My Retainer’s Buildup
At first, I figured a quick rinse under the tap was enough. It wasn’t. A retainer sits against your teeth and gums for hours every night, which means it collects the exact same plaque buildup, saliva residue, and bacteria your teeth do.
Left alone, that buildup turns into tartar (the same chalky mineral deposit dentists scrape off during a checkup) and a sticky layer called biofilm, which is basically a bacterial colony that clings to plastic and wire. Once biofilm sets in, a simple rinse won’t touch it. You need actual cleaning.
I also didn’t realize how directly this connects to gum health until I read up on how buildup on teeth becomes a bigger problem over time. If you want the full picture of how that mineral buildup forms and why dentists take it seriously, this breakdown of calculus on teeth explains it well, and the same logic applies to a retainer sitting against your teeth.
The Retainer Types I Learned to Treat Differently
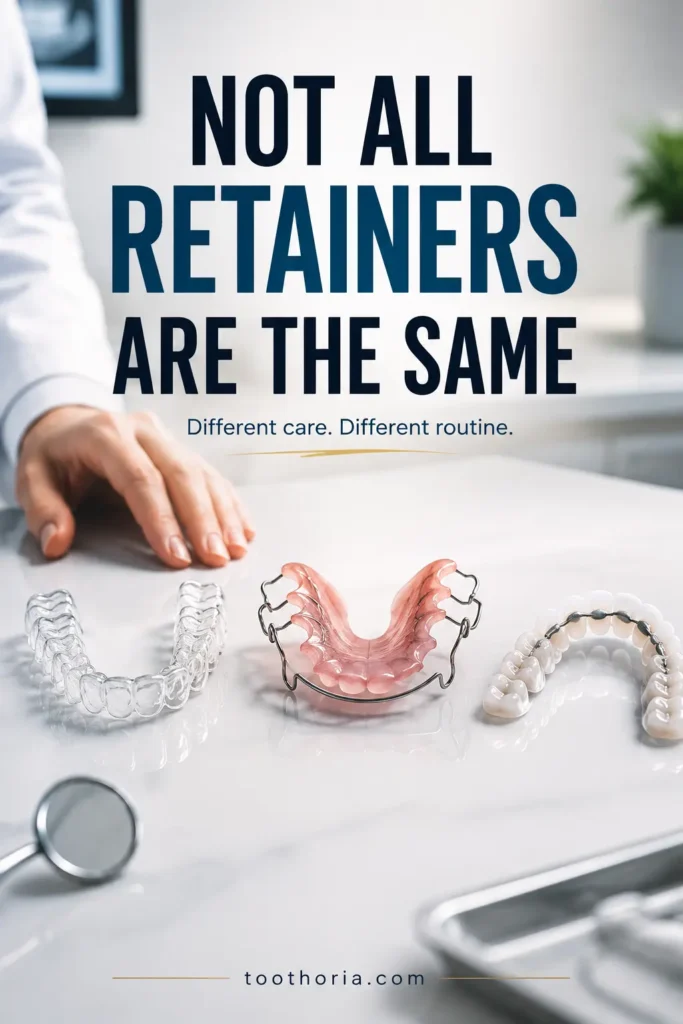
Not every retainer is cleaned the same way, and I learned this the hard way after treating my clear retainer like it was indestructible.
Hawley retainers have a pink acrylic base and a metal wire across the front teeth. They’re sturdy, but the wire can bend or lose its shape if you’re rough with it or expose it to heat.
Clear retainers, sometimes called Essix-style retainers, are thin, transparent plastic trays. They look similar to Invisalign trays, and if you’re weighing which appliance fits your lifestyle better, this comparison of Invisalign vs braces is a helpful read. Clear retainers scratch easily, and every scratch becomes a spot for bacteria to hide, which is exactly what happened to mine before I changed my routine.
Fixed or bonded retainers are wires cemented behind your front teeth, usually the lower ones. You can’t take these out, so cleaning them means building the habit into your regular brushing and flossing, not treating it as a separate task.
My Daily Retainer Cleaning Routine
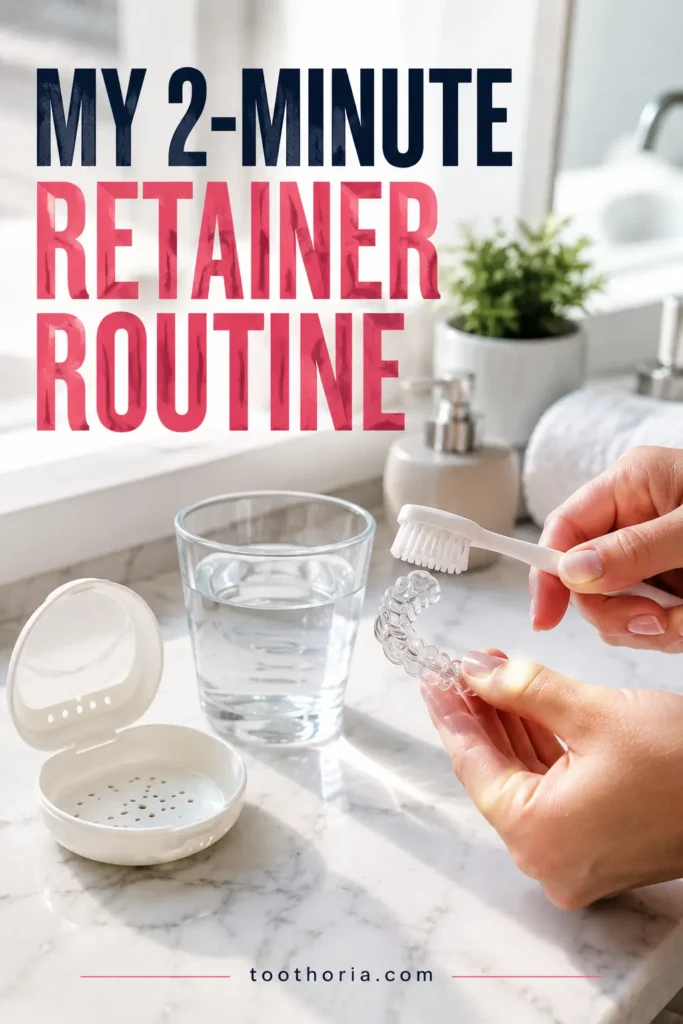
This is the exact routine I follow now, and it takes less than three minutes a day.
- Rinse immediately after removing the retainer, while it’s still wet. Use lukewarm water only. Hot water is one of the fastest ways to warp both plastic and wire.
- Brush gently with a soft-bristled toothbrush kept separate from the one you use on your teeth. Pair it with a mild dish soap or castile soap, never toothpaste. Toothpaste contains mild abrasives meant to polish enamel, and on plastic they leave tiny scratches that trap bacteria.
- Rinse again before it goes back in your mouth or into its case.
- Store it in a ventilated case, not a sealed pouch or a napkin. A damp, closed container is basically an incubator for bacteria.
If you’re already someone who takes oral hygiene seriously, pairing this with good daily habits around cavity prevention makes a real difference. I picked up a few small changes from this guide on how to prevent cavities at home that ended up helping my retainer stay cleaner too, since less plaque in your mouth means less transferring onto the appliance.
The Deep Clean Method That Actually Worked for Me
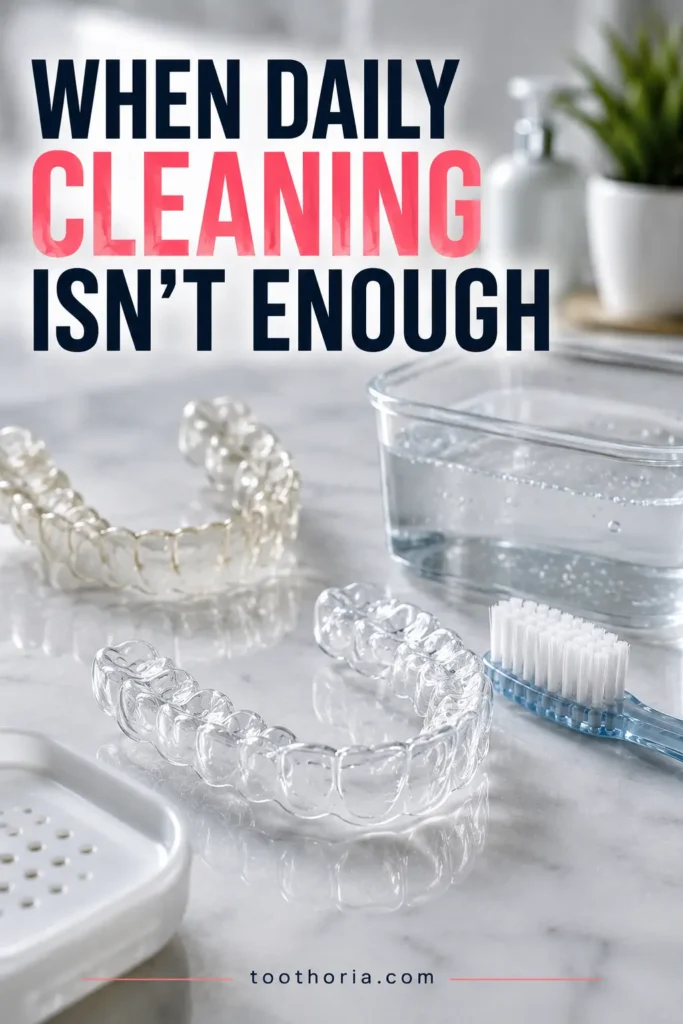
Daily brushing handles surface debris, but two or three times a week, your retainer needs something deeper.
Retainer cleaning tablets are the easiest option. Drop one into warm water, soak for the time listed on the package (usually five to twenty minutes), then rinse well. I keep a small stash next to my toothbrush so I don’t forget.
White vinegar and water, mixed in equal parts, is my go-to when I want a natural option. Fifteen minutes of soaking breaks down mineral buildup and neutralizes odor without harsh chemicals.
Baking soda soaks work similarly and are gentle enough for sensitive plastic, especially if odor is the main issue rather than visible buildup.
If you want a completely hands-off option, an ultrasonic cleaner uses sound waves to shake debris loose from every groove. I didn’t buy one until my retainer started staying cloudy no matter what I tried, and honestly, it was worth it for a clear retainer specifically.
According to the American Association of Orthodontists, sticking to gentle, appliance-specific cleaners rather than harsh household chemicals is one of the biggest factors in how long a retainer actually lasts, and that lines up with everything I’ve experienced firsthand.
Cleaning a Fixed Retainer Without Losing Your Patience
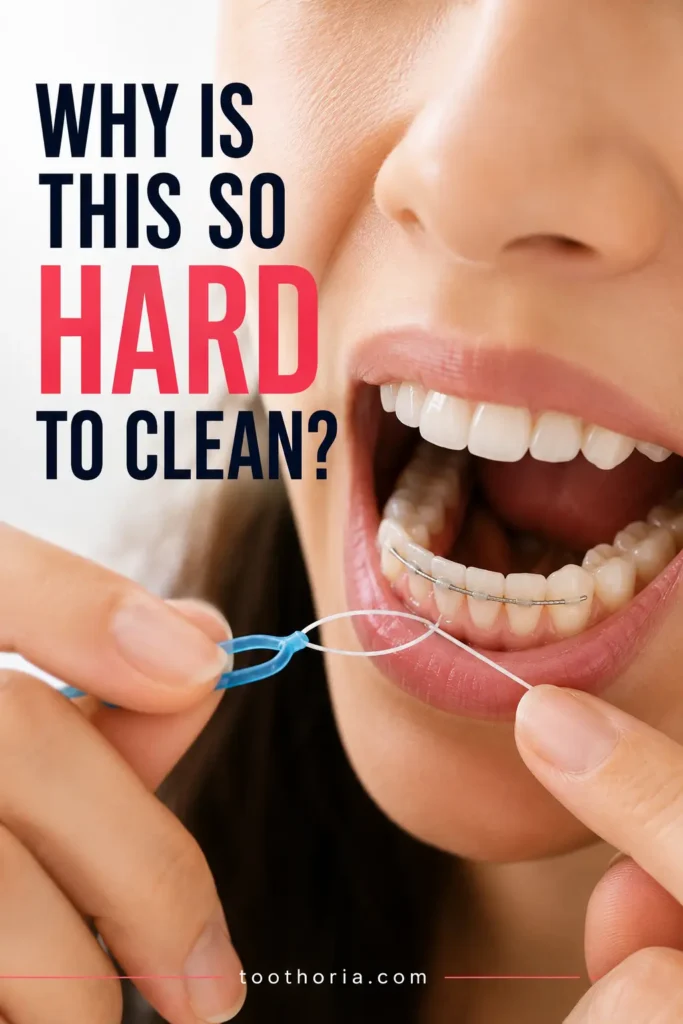
Bonded retainers were the hardest thing for me to get used to. You can’t remove them, so cleaning happens in real time, in the mirror, every single day.
A floss threader became essential. You thread it under the wire, hold one end with the threader and the other with your fingers, and guide it up to the gumline before repeating the process tooth by tooth. It’s tedious the first week and then becomes second nature.
If flossing under a wire feels frustrating, a water flosser genuinely makes life easier. I compared both approaches in detail while figuring out my own routine, and this breakdown of Waterpik vs flossing is worth reading if you’re deciding which tool fits your fixed retainer. Traditional flossing still has its place too, and this guide on traditional flossing technique helped me get the angle right around the wire.
Mistakes I Made So You Don’t Have To
Looking back, almost every problem I had came down to one of these habits.
Using hot water. I once rinsed my retainer under water that was too hot after a shower, and the fit was never quite the same afterward.
Scrubbing with toothpaste. It felt logical at the time. It wasn’t. The scratches it left behind made cloudiness worse, not better.
Skipping days. Even two days without cleaning let buildup get ahead of me, and catching up took longer than just staying consistent would have.
Over-soaking. I once left my retainer in a cleaning solution overnight thinking it would be extra clean. Instead, the material felt slightly weaker afterward. Stick to the time listed on the product.
Using mouthwash or bleach. Alcohol-based mouthwash and bleach both seemed like strong, effective options, but they degrade retainer material and can leave residue that irritates your gums.
How I Store It Now
My case sits in the same spot every night, next to my toothbrush, so I never forget it. The case itself gets washed weekly with warm water and mild soap, because a dirty case undoes a clean retainer fast.
When I travel, I keep a spare case in my bag, since a retainer wrapped in a napkin is one distracted moment away from being thrown out with the trash. That’s happened to a friend of mine, and replacing a lost retainer isn’t cheap. If you’re curious what that kind of replacement or upgrade actually costs, this guide on the cost of orthodontic braces and this one on how much Invisalign costs both give a realistic sense of the numbers involved.
Signs Mine Needed More Than Cleaning
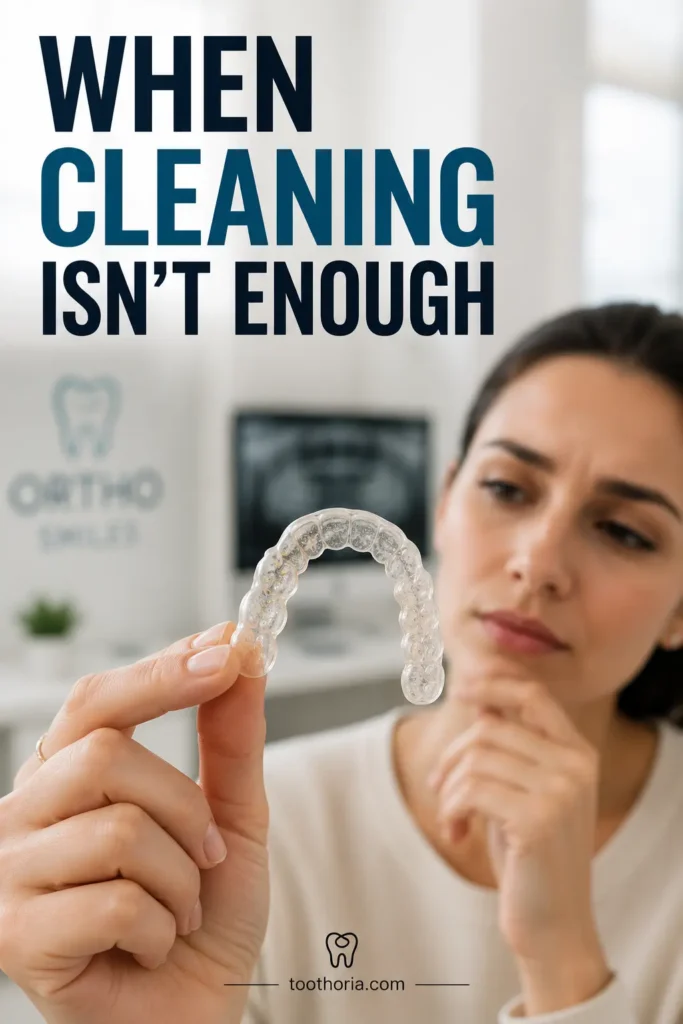
A retainer doesn’t last forever, and there were signs I ignored longer than I should have.
Persistent odor that didn’t go away even after a deep clean was the first red flag. White spots that felt slightly rough under my fingernail were the second. Eventually, a small crack near the wire told me it was time to stop cleaning and start replacing.
If bad breath is the main issue rather than the retainer itself, it’s worth ruling out other causes too. I found this guide to the best mouthwash for smelly breath genuinely useful for figuring out whether the odor was coming from the retainer or somewhere else entirely.
When I Finally Called My Orthodontist
I put off that appointment longer than I should have, mostly out of stubbornness. When I finally went in, my orthodontist checked the fit, cleaned it professionally, and confirmed it was still usable, just needed better daily care on my end.
That visit also confirmed something important: consistent professional checkups, similar to the routine gum cleanings dentists recommend, catch small problems before they become expensive ones. If you’ve never had one, this guide to gum cleaning at the dentist explains what that process actually involves and why it pairs well with good retainer hygiene.
Final Thoughts
Cleaning a retainer properly isn’t complicated once you know what actually works and what quietly ruins it. Rinse it right away, brush it gently, deep clean it a couple times a week, and skip the shortcuts that feel effective but aren’t. My retainer has lasted years longer since I started treating it the way my orthodontist actually told me to, and the habit takes less time than scrolling through your phone before bed. Once it becomes routine, you’ll wonder why it ever felt like a chore.